Of the Moment...
Details
Title: IDAT309 - 3D Digital Environments
Start Date: 02-10-2008 11:02
Finish Date: 12-12-2008 12:00
Status: Complete
Aditional Details: Individual University Coursework - 20 credits
The Full Story
The past few days have been really busy getting the project finished. All the elements have now come together and images of the complete scene have been rendered. A few days ago I started rendering short videos of the individual parts of the scene and last night I tested a low quality render of the completed project.

This was the point I started having major problems with the project and my computer. I tried many different approaches, but even when rendering on low quality I was only able to render about 20 frames before the program locked up. Leading up to this point the computer was running at 100% CPU usage and the ram was completely maxed out.

I took many different attempts but was still unable to accomplish a video render for the final presentation. In the end the only solution was to use the videos of each part of the scene in the final presentation and to use the still images for the completed scene.

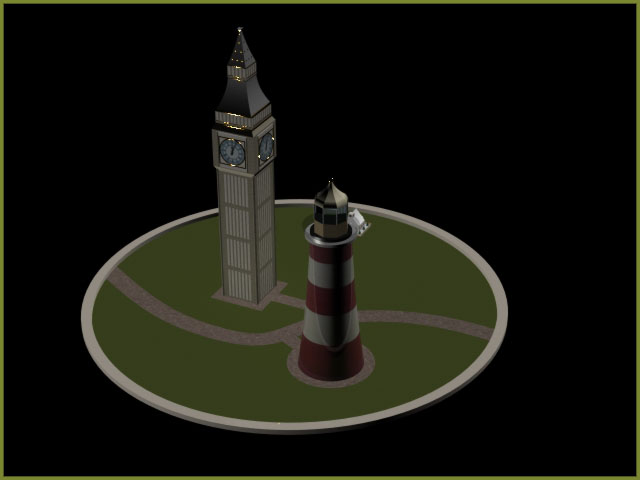
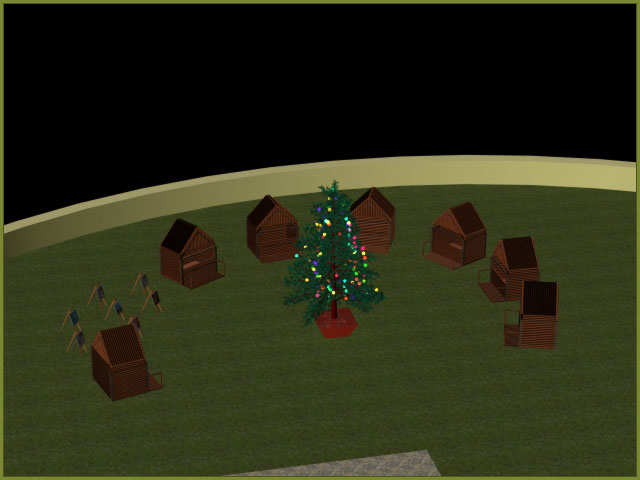
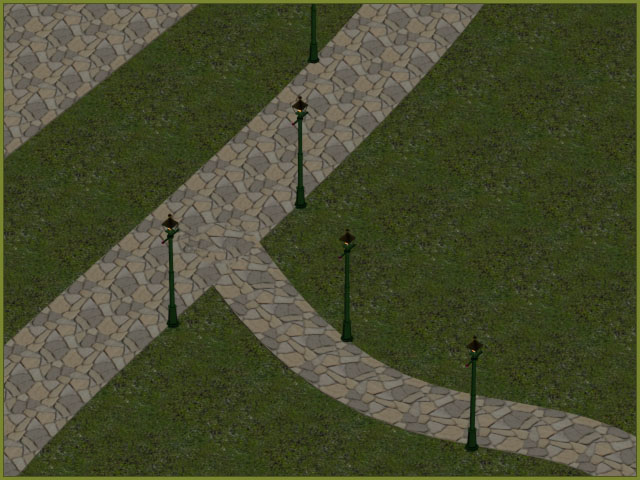
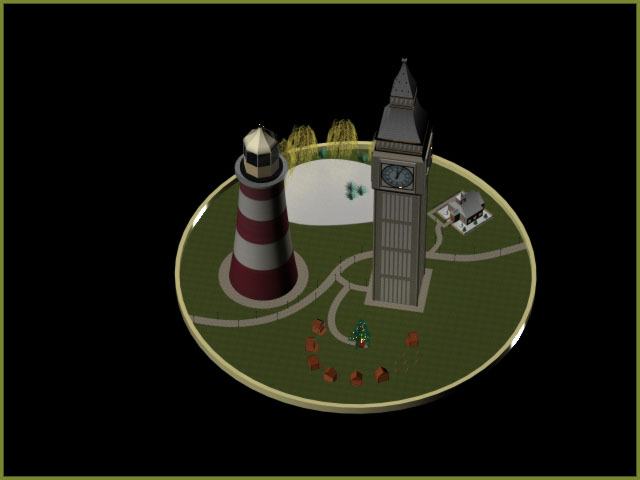
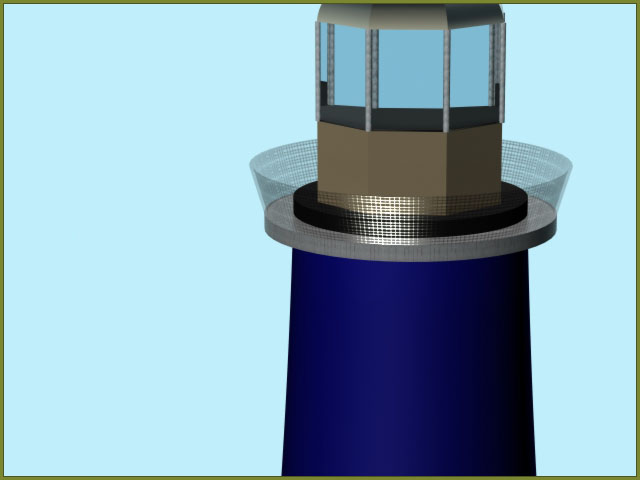
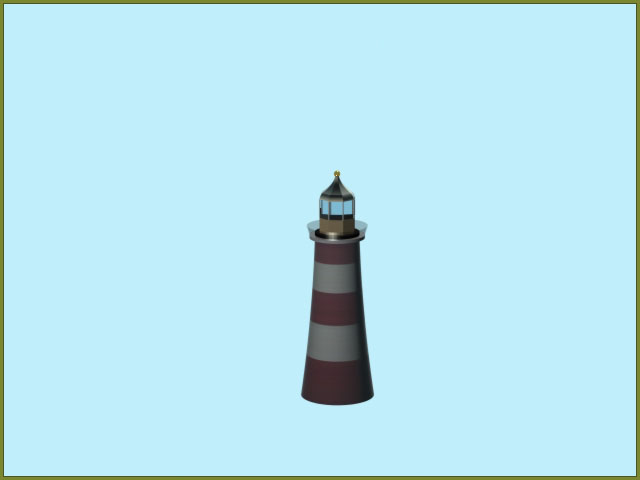
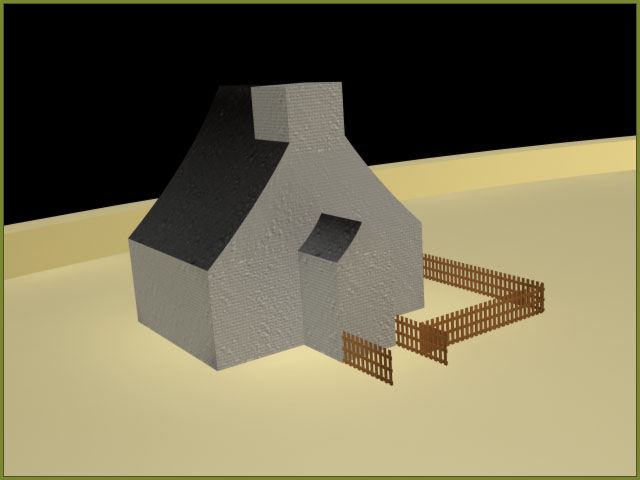
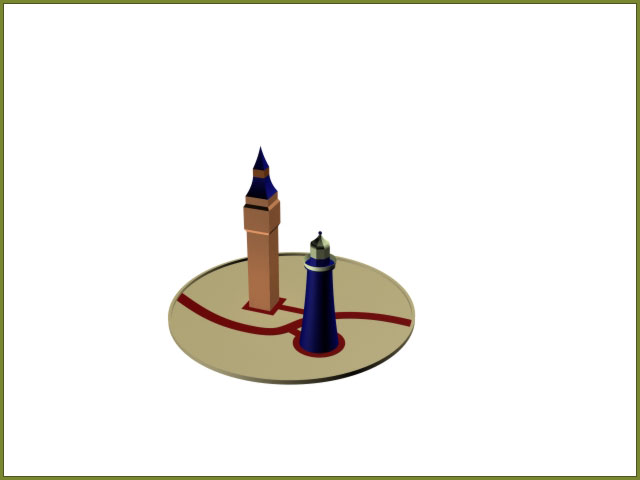
Another problem I came across was that because each of the sub parts of the scene were made in their own files when I came to make the VRML’s I could only make them containing the actual data in the scene, so all the sub file parts were left out of the main world file. For the project hand in I will submit world files for each part.

the_full_story_1


the_full_story_2


the_full_story_3


the_full_story_4
Latest Updates
Since working on the snow house I have now moved on to developing other assets to be added to the scene. More detail has now been added to Smeatons tower as shown below. The texture for the main body is adapted from a 1 pixel wide image chopped from an actual photo of Smeatons tower.

smeatons_tower_detail_1


smeatons_tower_detail_2


For the glass guard around the top of the tower I used a wire mesh texture for simplicity and to save time. However the main room and light area of the tower are still constructed from individual parts.
Snow House and the Dome
A few more days working on the 3D and the next of my buildings is starting to come together. I've been trying to create a snow texture as I've been unable to find any online to use. Making the texture was harder than I expected, but in the end the best way I found was to take an existing grass texture and swap the images for those of snow, and then make a few weeks to the settings. I haven't had a chance to add much detail to the building yet, but the shape is coming together. I had a slight problem with the fence where the detail was set too high, this seemed to cause the whole render to run too slowly. The only solution was to redo the fence with less sides on each of the parts.


snow_house_2


As this is a snow globe, I started thinking about the glass dome that will go over the model. The first attempt was made from 2 shapes, however this didn't work so well as it was made from glass and the joint could be seen. I worked out how to make it from a single piece and that seemed to work much better. I then tried a test video of the globe over the model, with a simple fly through (Available here). As you can see from the video the glass texture seems to distort everything. My thoughts at the moment are to only show the glass dome as an overview and remove it during the fly through of the scene. I also tried out snow using the particle tool. Again I may not include it in all the final render shots, to get the effect the snow would need to be really thick for close up shots and this would add too much to the render time.
Smeatons Tower
I've moved on from the clock tower and started working on the lighthouse. The basic shape of Smeatons tower was more complex that the basic shape of the clock tower as it revolved around circles more than squares. As well as adding the lighthouse to the scene I've started laying out the scene more of the scene. Included in this I have added a path running down the middle of the scene and linked it to the two main buildings. I've also started working on the main frame of the dome.

stage_2_4


smeatons_tower_2


smeatons_tower_4


Version 1, Version 2 and the Clock Tower
My 3D model development is well under way now for the second time. That's right the second time, I started trying the build the Big Ben Clock Tower but i think the size was too large, 3Ds Max started slowing down. Eventually I started finding that the files would not load at all. So version one has been scrapped and now I've started on version 2. The new tower is well on the way as can be seen from the renders below. At this stage I have only modeled the basic shape of the tower. I've also started thinking of the best way to display the project. I'm still keen on merging the clock tower with plymouth hoe, but seeing as the completion date of the project is close to christmas, I've started considering that maybe I could use that as the containing factor. The idea is to make the whole seen into a snow globe. The built in particle tools in 3Ds Max could be used to simulate the falling snow. The best renders so far are shown below, but more can be found in the workbook section.

big_ben_basic_5


big_ben_basic_7


3D Testing
Today I started trying out a few ideas for the project using 3ds max. Currently I am using 3dsmax version 10, 64bit to produce my project. This is the latest version of the software and has many functional improvements over the previous versions as well as a lot more textures. As a test I started trying to create a rotating cog on an axle and applying a basic texture. Hopefully I will be able to use multiple cogs like this one to form the mechanism of the clock tower. A few of the best renders are shown below.

test_2


test_4


More photos of the render can be found in the workbook section. The compete animation can be viewed here.
Further Planning
To help produce a detailed project Gantt chart I started by Mind Mapping all the tasks I would need to carry out to complete the 3D model.

clock_1


Plan of Action
Having finalised my idea, and created a clear picture of what I intend to do, I have started planning out a timetable for production.  With the deadline the week commencing the 8th December this doesn’t give very long to build the 3D model. Here are the key stages I can think of.

  • Build the tower (shouldn’t take too long). [target: 12th November]
  • Add the clock face and hands to the tower. [target: 17th November]
  • Build the new surroundings for the tower. [target: 24th November]
  • Add the Bell to the tower. [target: 28th November]
  • Add the workings for the clock. [target: 6th December]
  • Finalise the project [Deadline: 8th December]
Simple Designs
So to help illustrate my idea better I have edited a photo of the Hoe and added in the clock tower.

clock_1


At the moment the mock-up is only a rough illustration, and the photo parts are not to scale.
Location, Location, Location
I have taken some photos of Plymouth Hoe (see below). At this stage I’m not worried too much about the detail of the photos I just want to get a few overview shots that can be used as a starting point. With the Hoe being local I can easily get additional photos later on.

plymouth_hoe_1


plymouth_hoe_4


plymouth_hoe_5


plymouth_hoe_8


plymouth_hoe_9


Search Posts
Hint: In the month field leave 'All' selected to return all posts from the chosen year.
Year:
Month:
Copyright 2008 Daniel Wilkins. All Rights Reserved.